Recipe: How to Brine Olives
The Process From Tree to Table
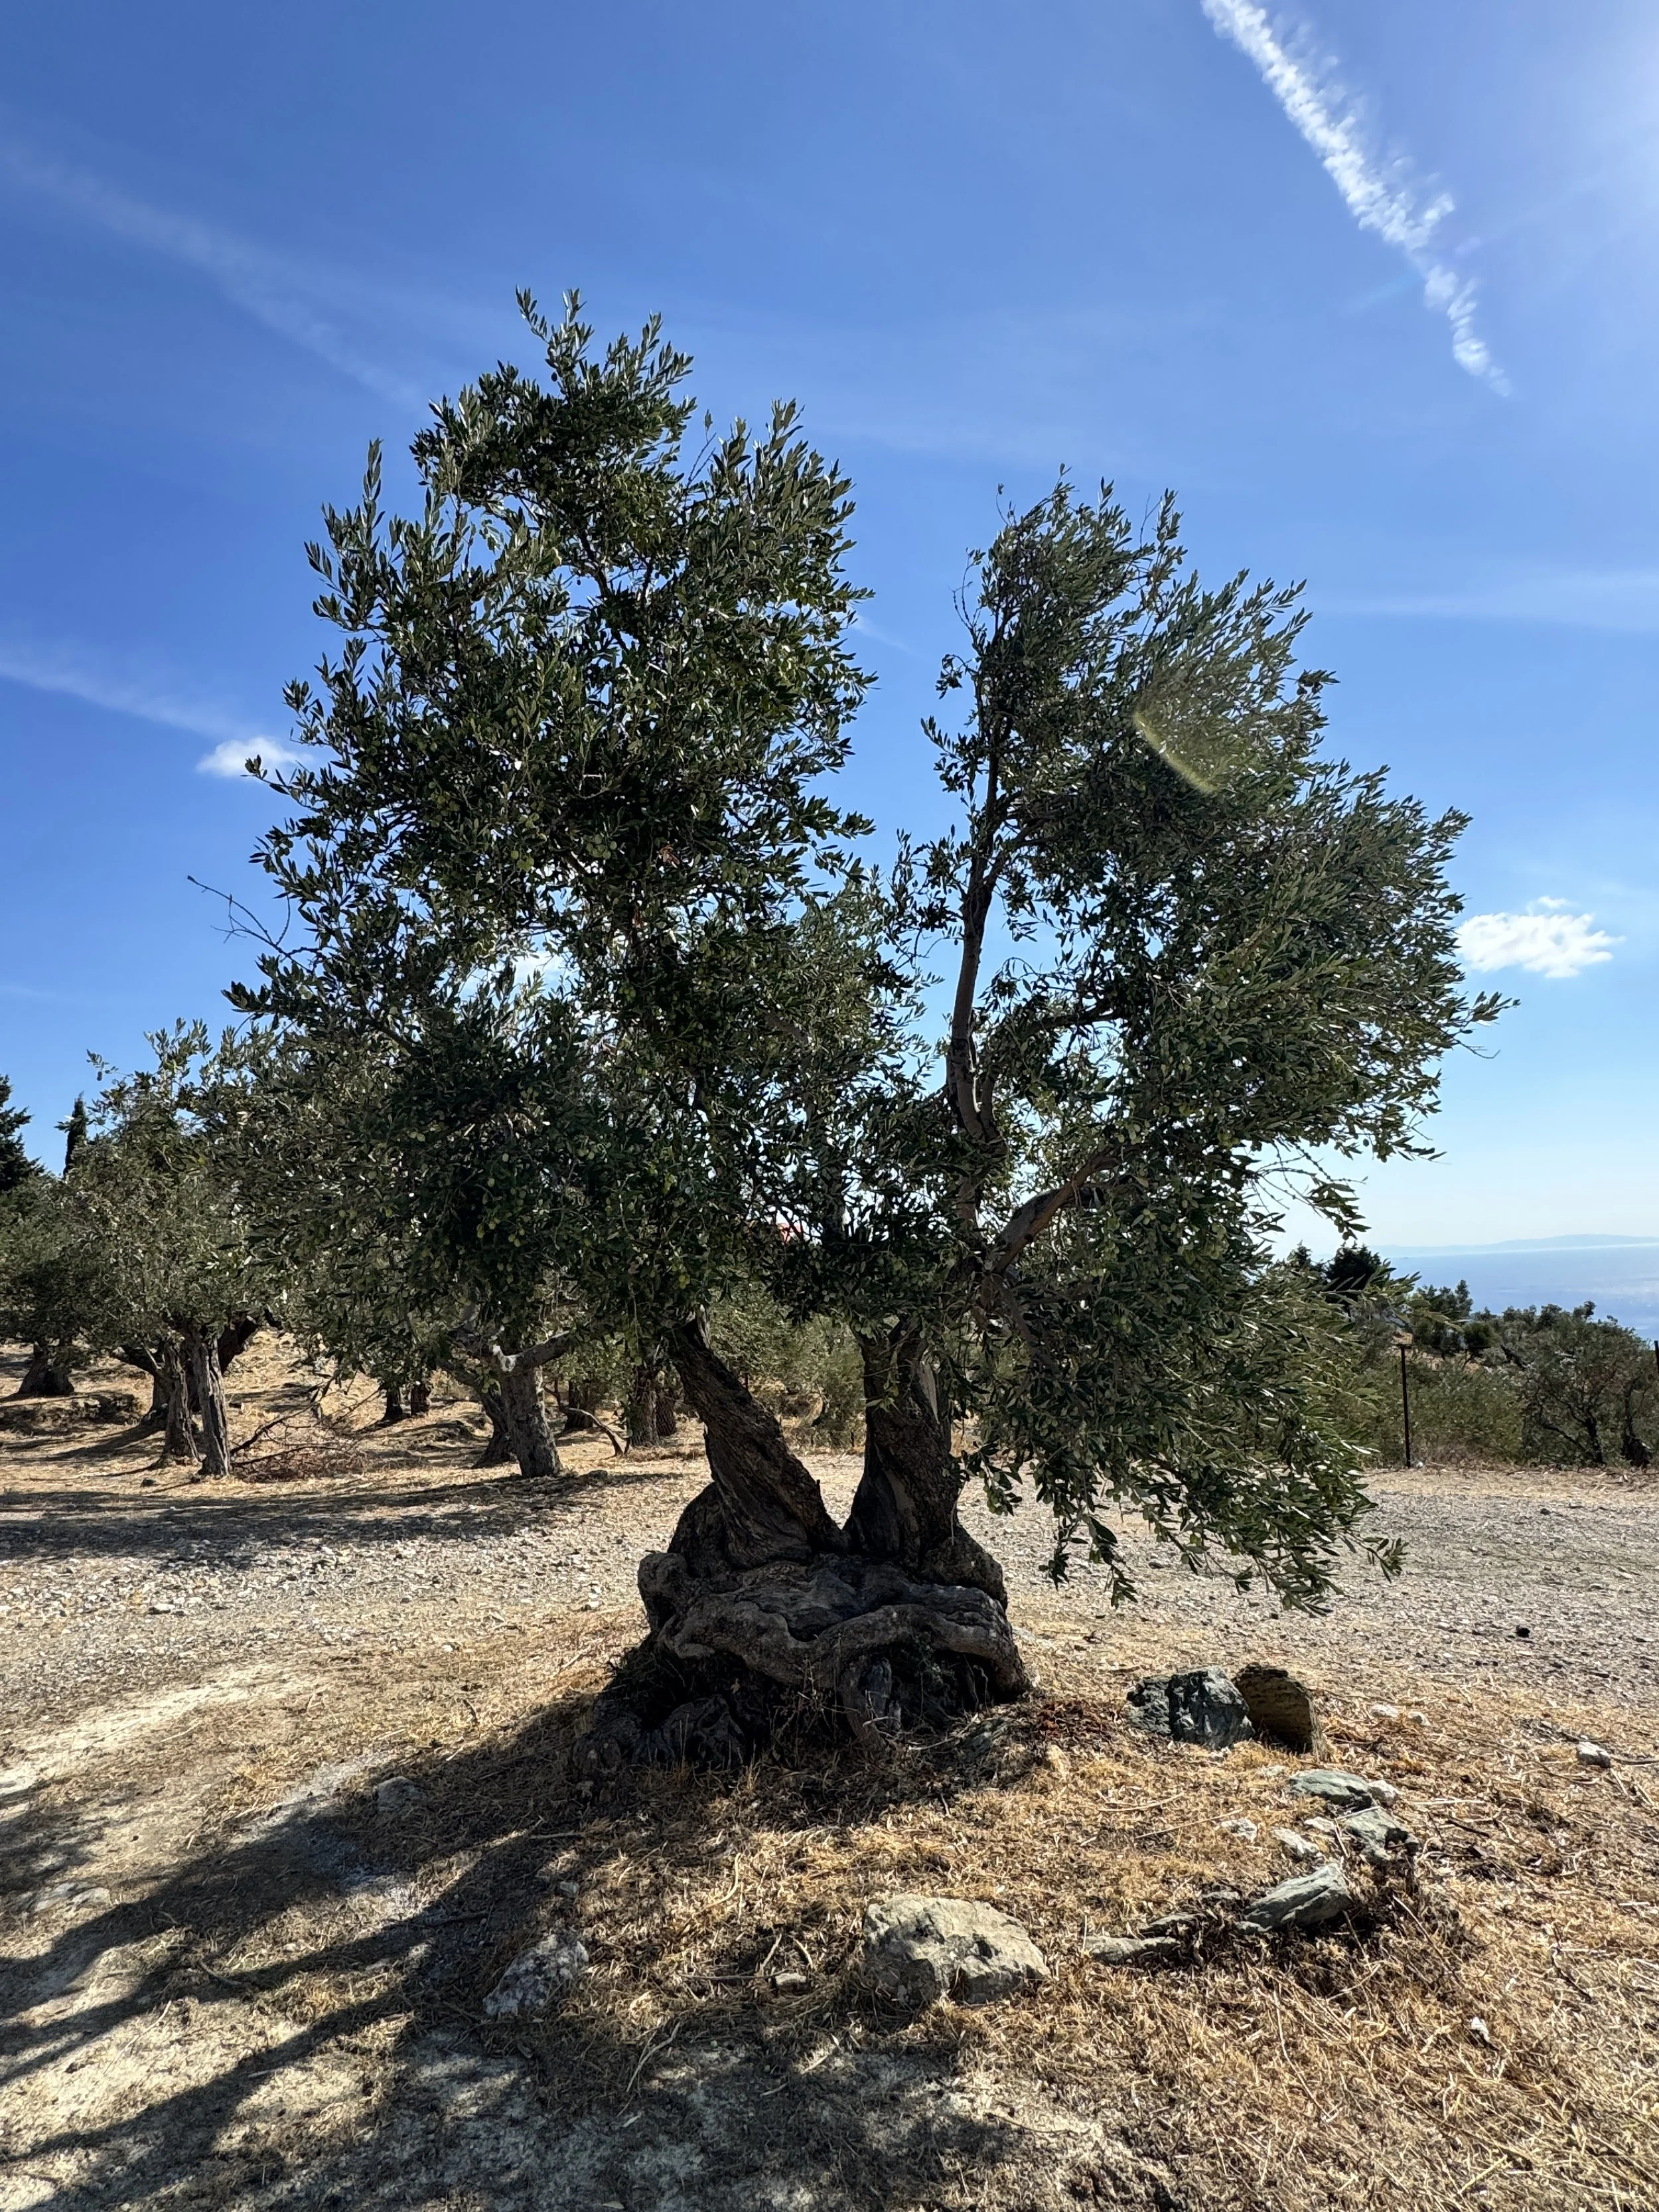
Have you ever seen gorgeous olives growing in clusters on a tree and wondered if you should take a bite? Don’t!! They’re exceedingly bitter - I can promise it will be the only time you do! Living in Plomari, Lesvos, Greece, I had the incredible opportunity to pick my own olives from a tree near my house and cure them naturally. In this post, I’ll walk you through the process of picking, curing, and brining olives, using my personal experience of preserving these treasures.
Along the way, I captured the process in two reels on Instagram, so be sure to check those out to see how it all comes together!
A Brief History of Olive Production in Lesvos
Olive production on the island of Lesvos dates back thousands of years, and olives have long been considered one of the island’s most important agricultural products. The region is renowned for its unique climate and rich soil, which make it ideal for cultivating Kolovi and Adramitini olives, two local varieties used both for table olives and for producing the island's famous extra virgin olive oil.
Lesvos is dotted with ancient olive groves, many of which have trees that are hundreds of years old. These trees are not only deeply rooted in the soil but also in the local culture. Olive oil and olives have been central to the island’s economy, cuisine, and way of life for generations. Today, olive oil from Lesvos is internationally recognized for its quality, and the traditional methods of olive curing are still passed down through families.
With this rich history in mind, it feels special to take part in a centuries-old process, knowing that I’m continuing a tradition that has sustained the people of Lesvos for ages. And if you ever get a chance to try the olive oil here - it’s out of this world. I may skip taking any clothes back to States this winter and pack only olive oil!
Step 1: Picking the Olives
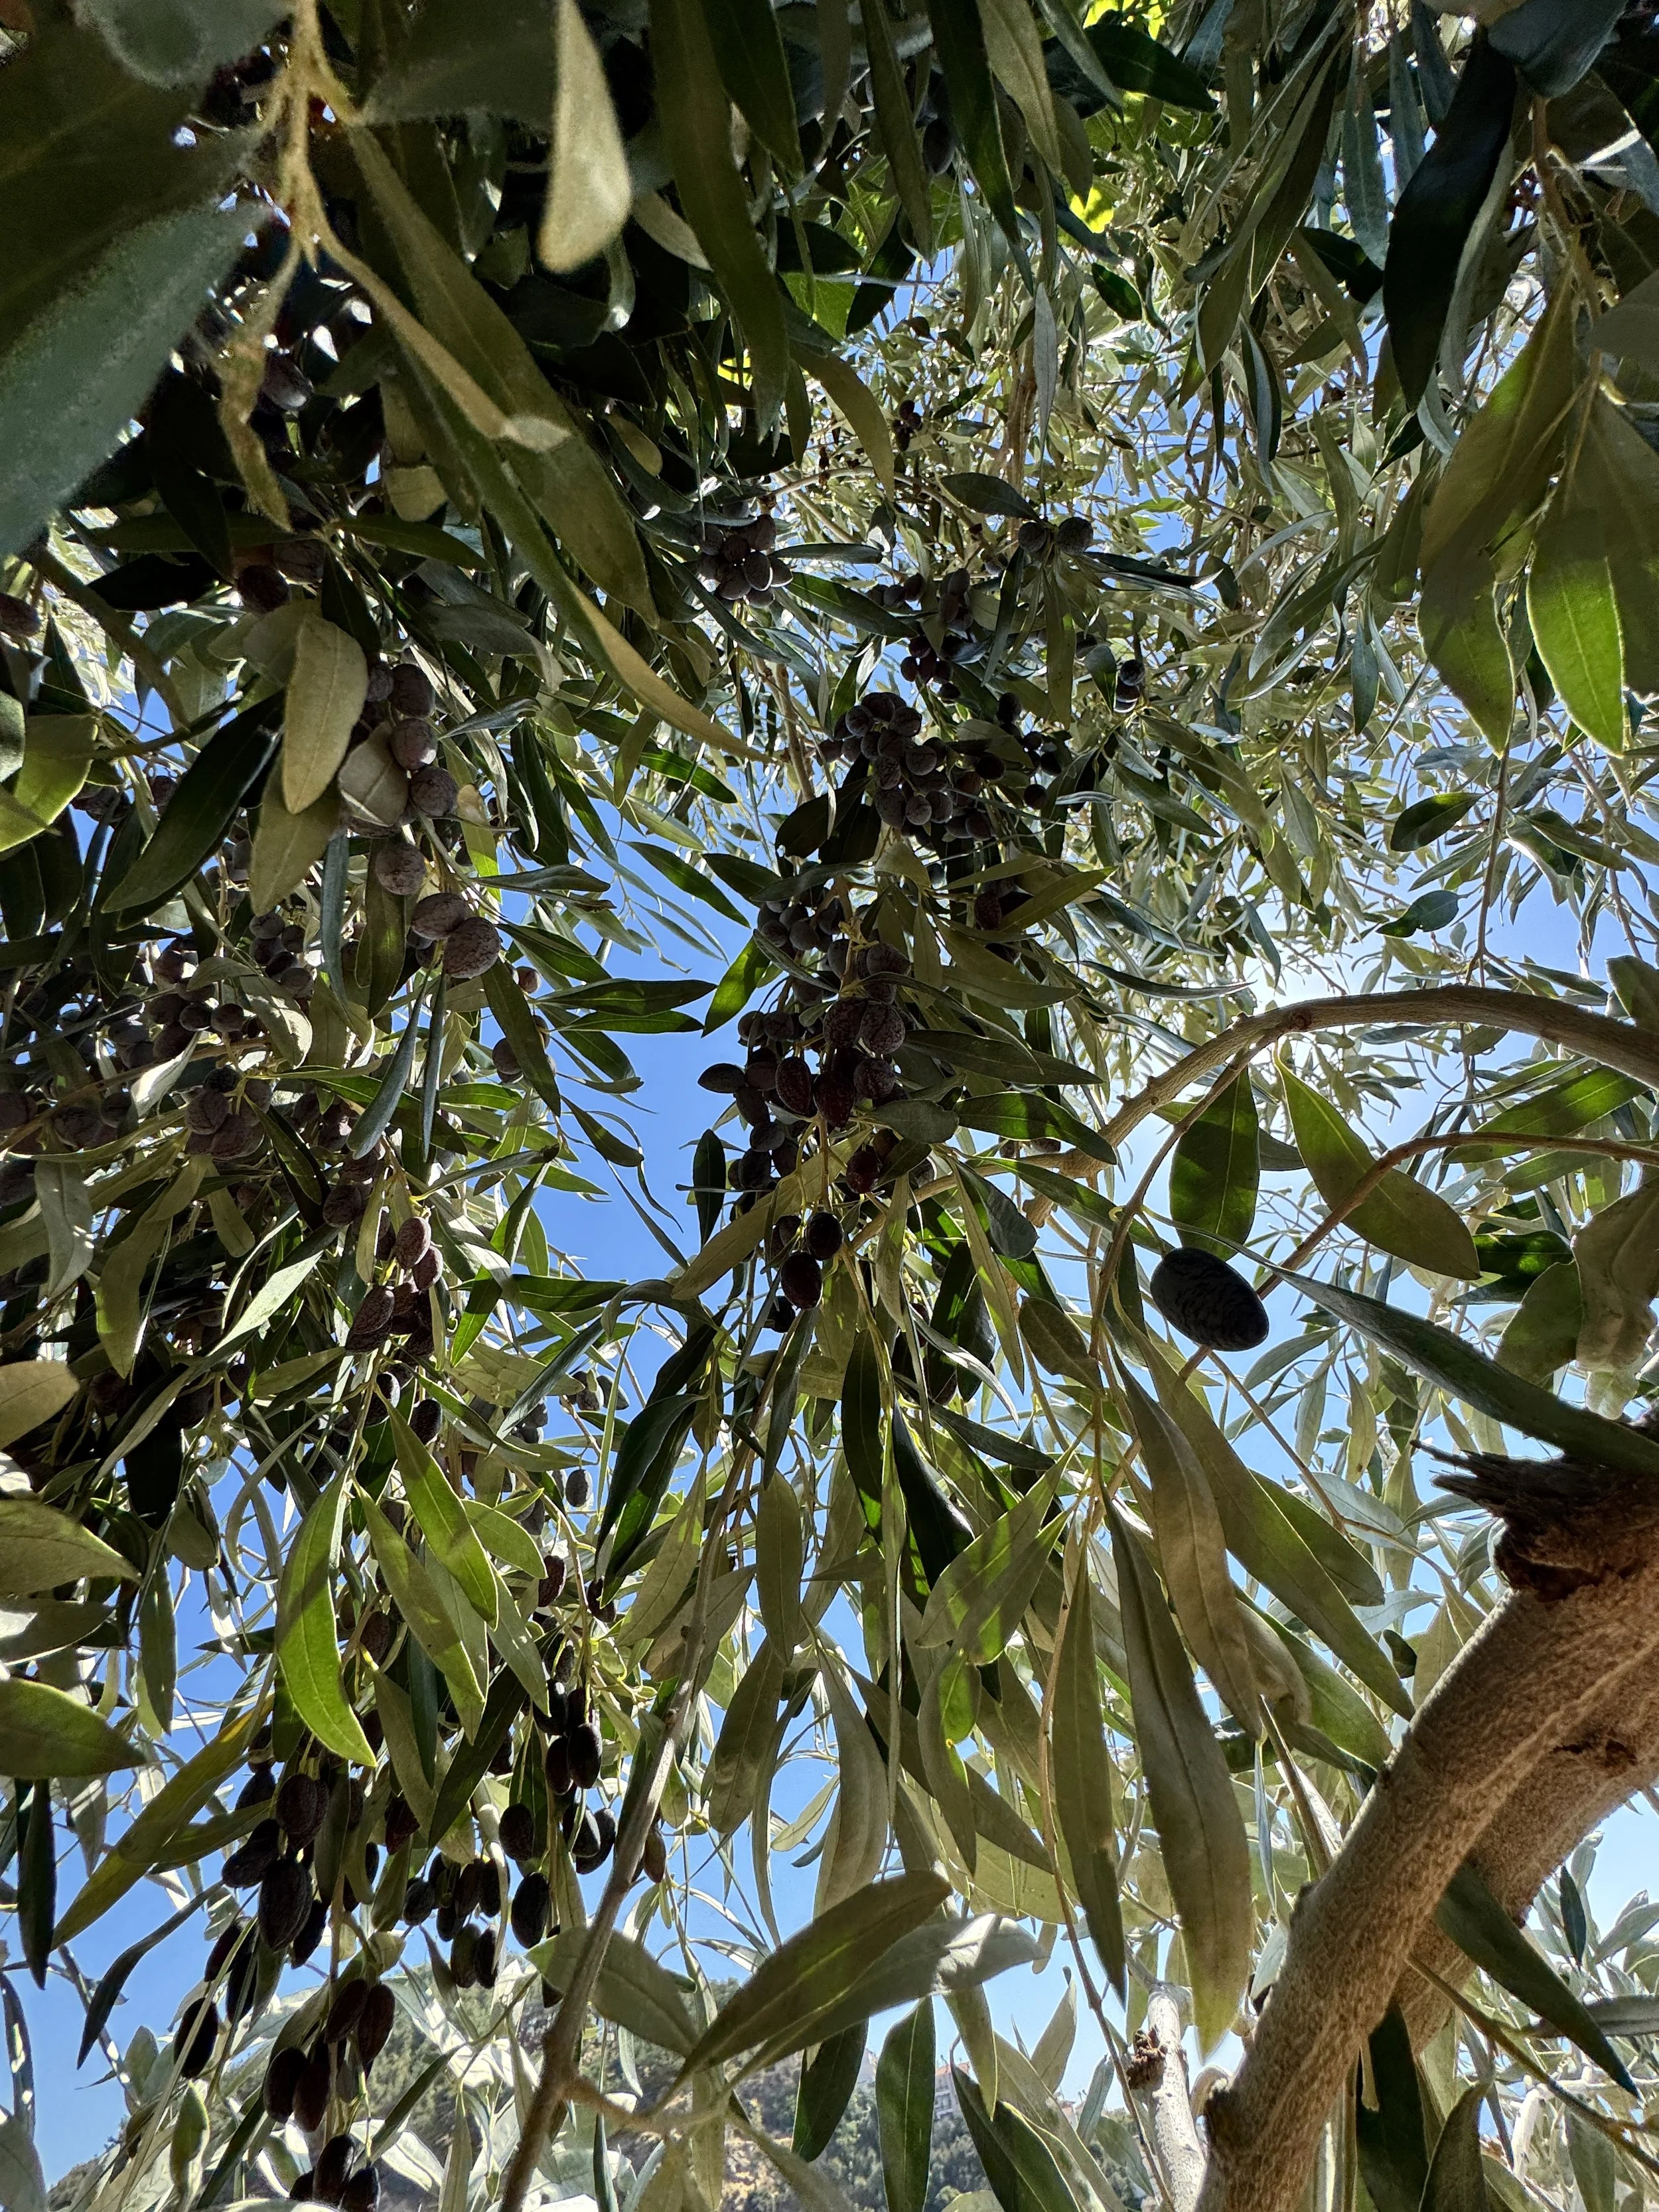
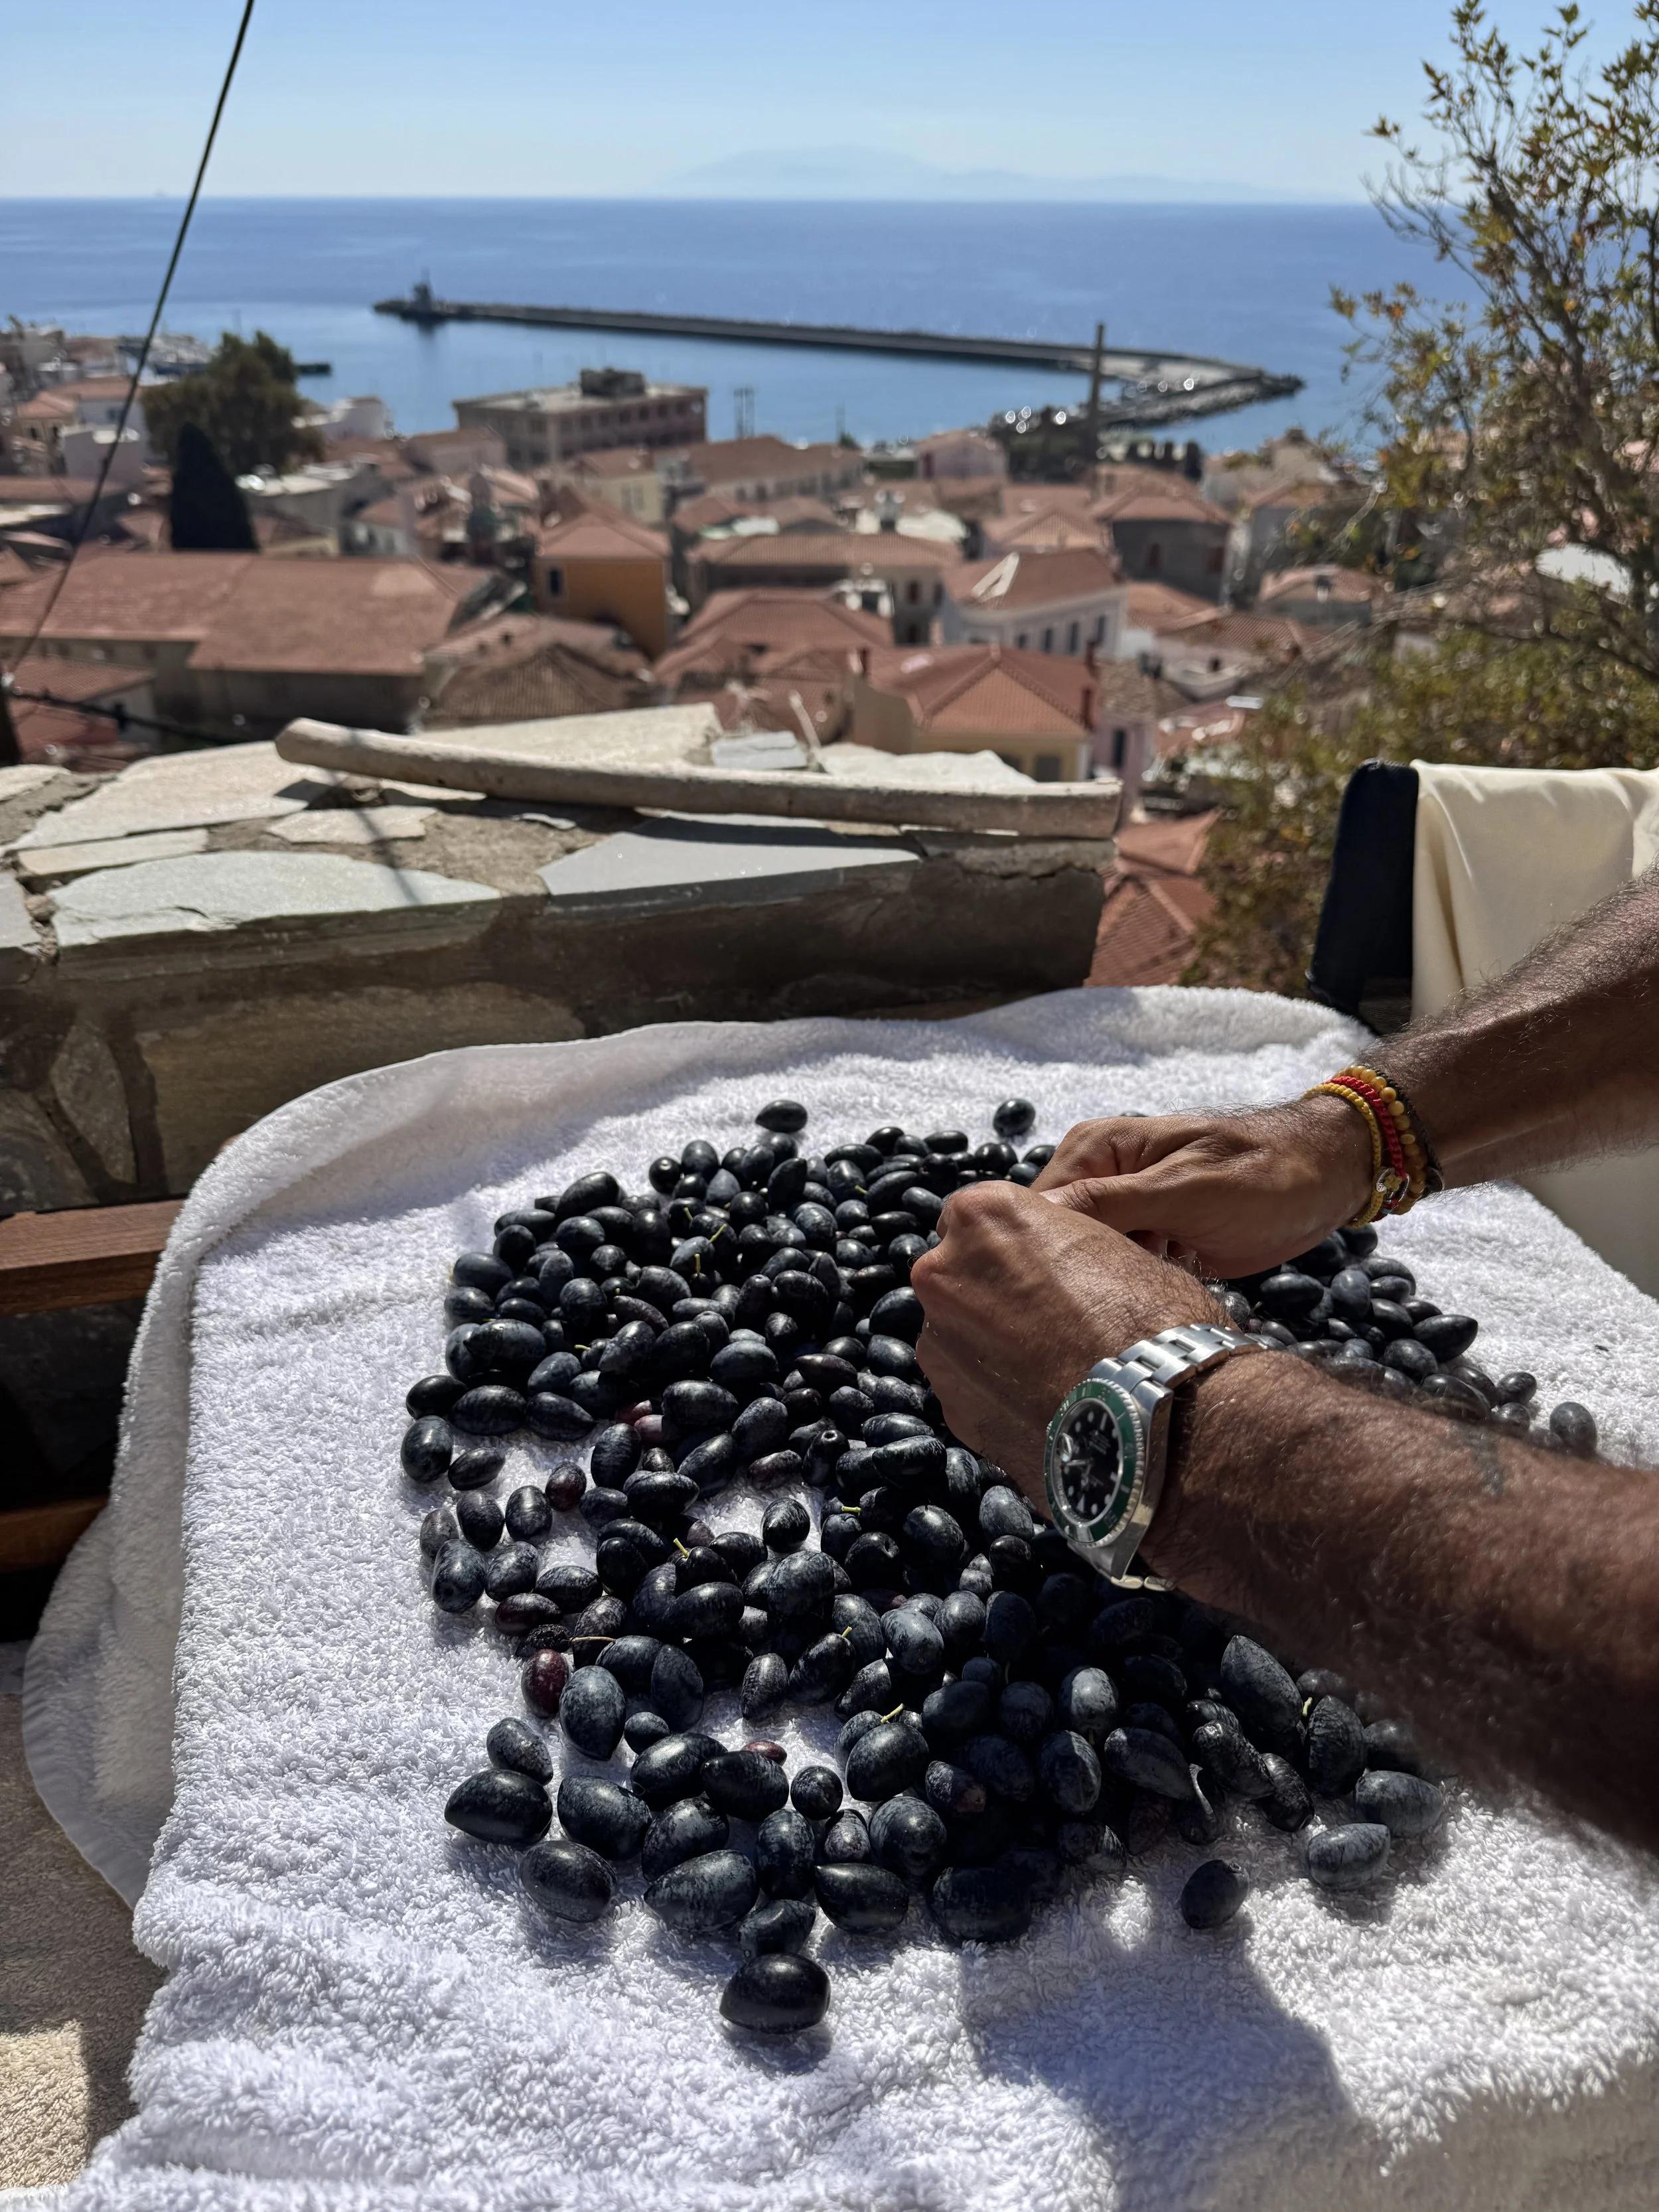
The olive-picking process is simple and satisfying. Look for ripe, firm olives—they can range in color from green to deep purple or black, depending on the variety and ripeness. The olives should be free from bruising or damage. Mine were a deep purple - you can tell the unripe ones are green, so we stuck to firm, dark purple ones and we shook the branches and picked into a pillow case. Traditionally, the olives are shook into big black nets spread out under the trees!
Step 2: Curing the Olives
Olives straight from the tree are extremely bitter due to a compound called oleuropein, so they need to be cured to make them palatable. Here's how I cured my olives:
What You’ll Need:
Fresh olives
Sharp knife (for slitting)
Fresh water
Large food-safe container for soaking
Curing Process:
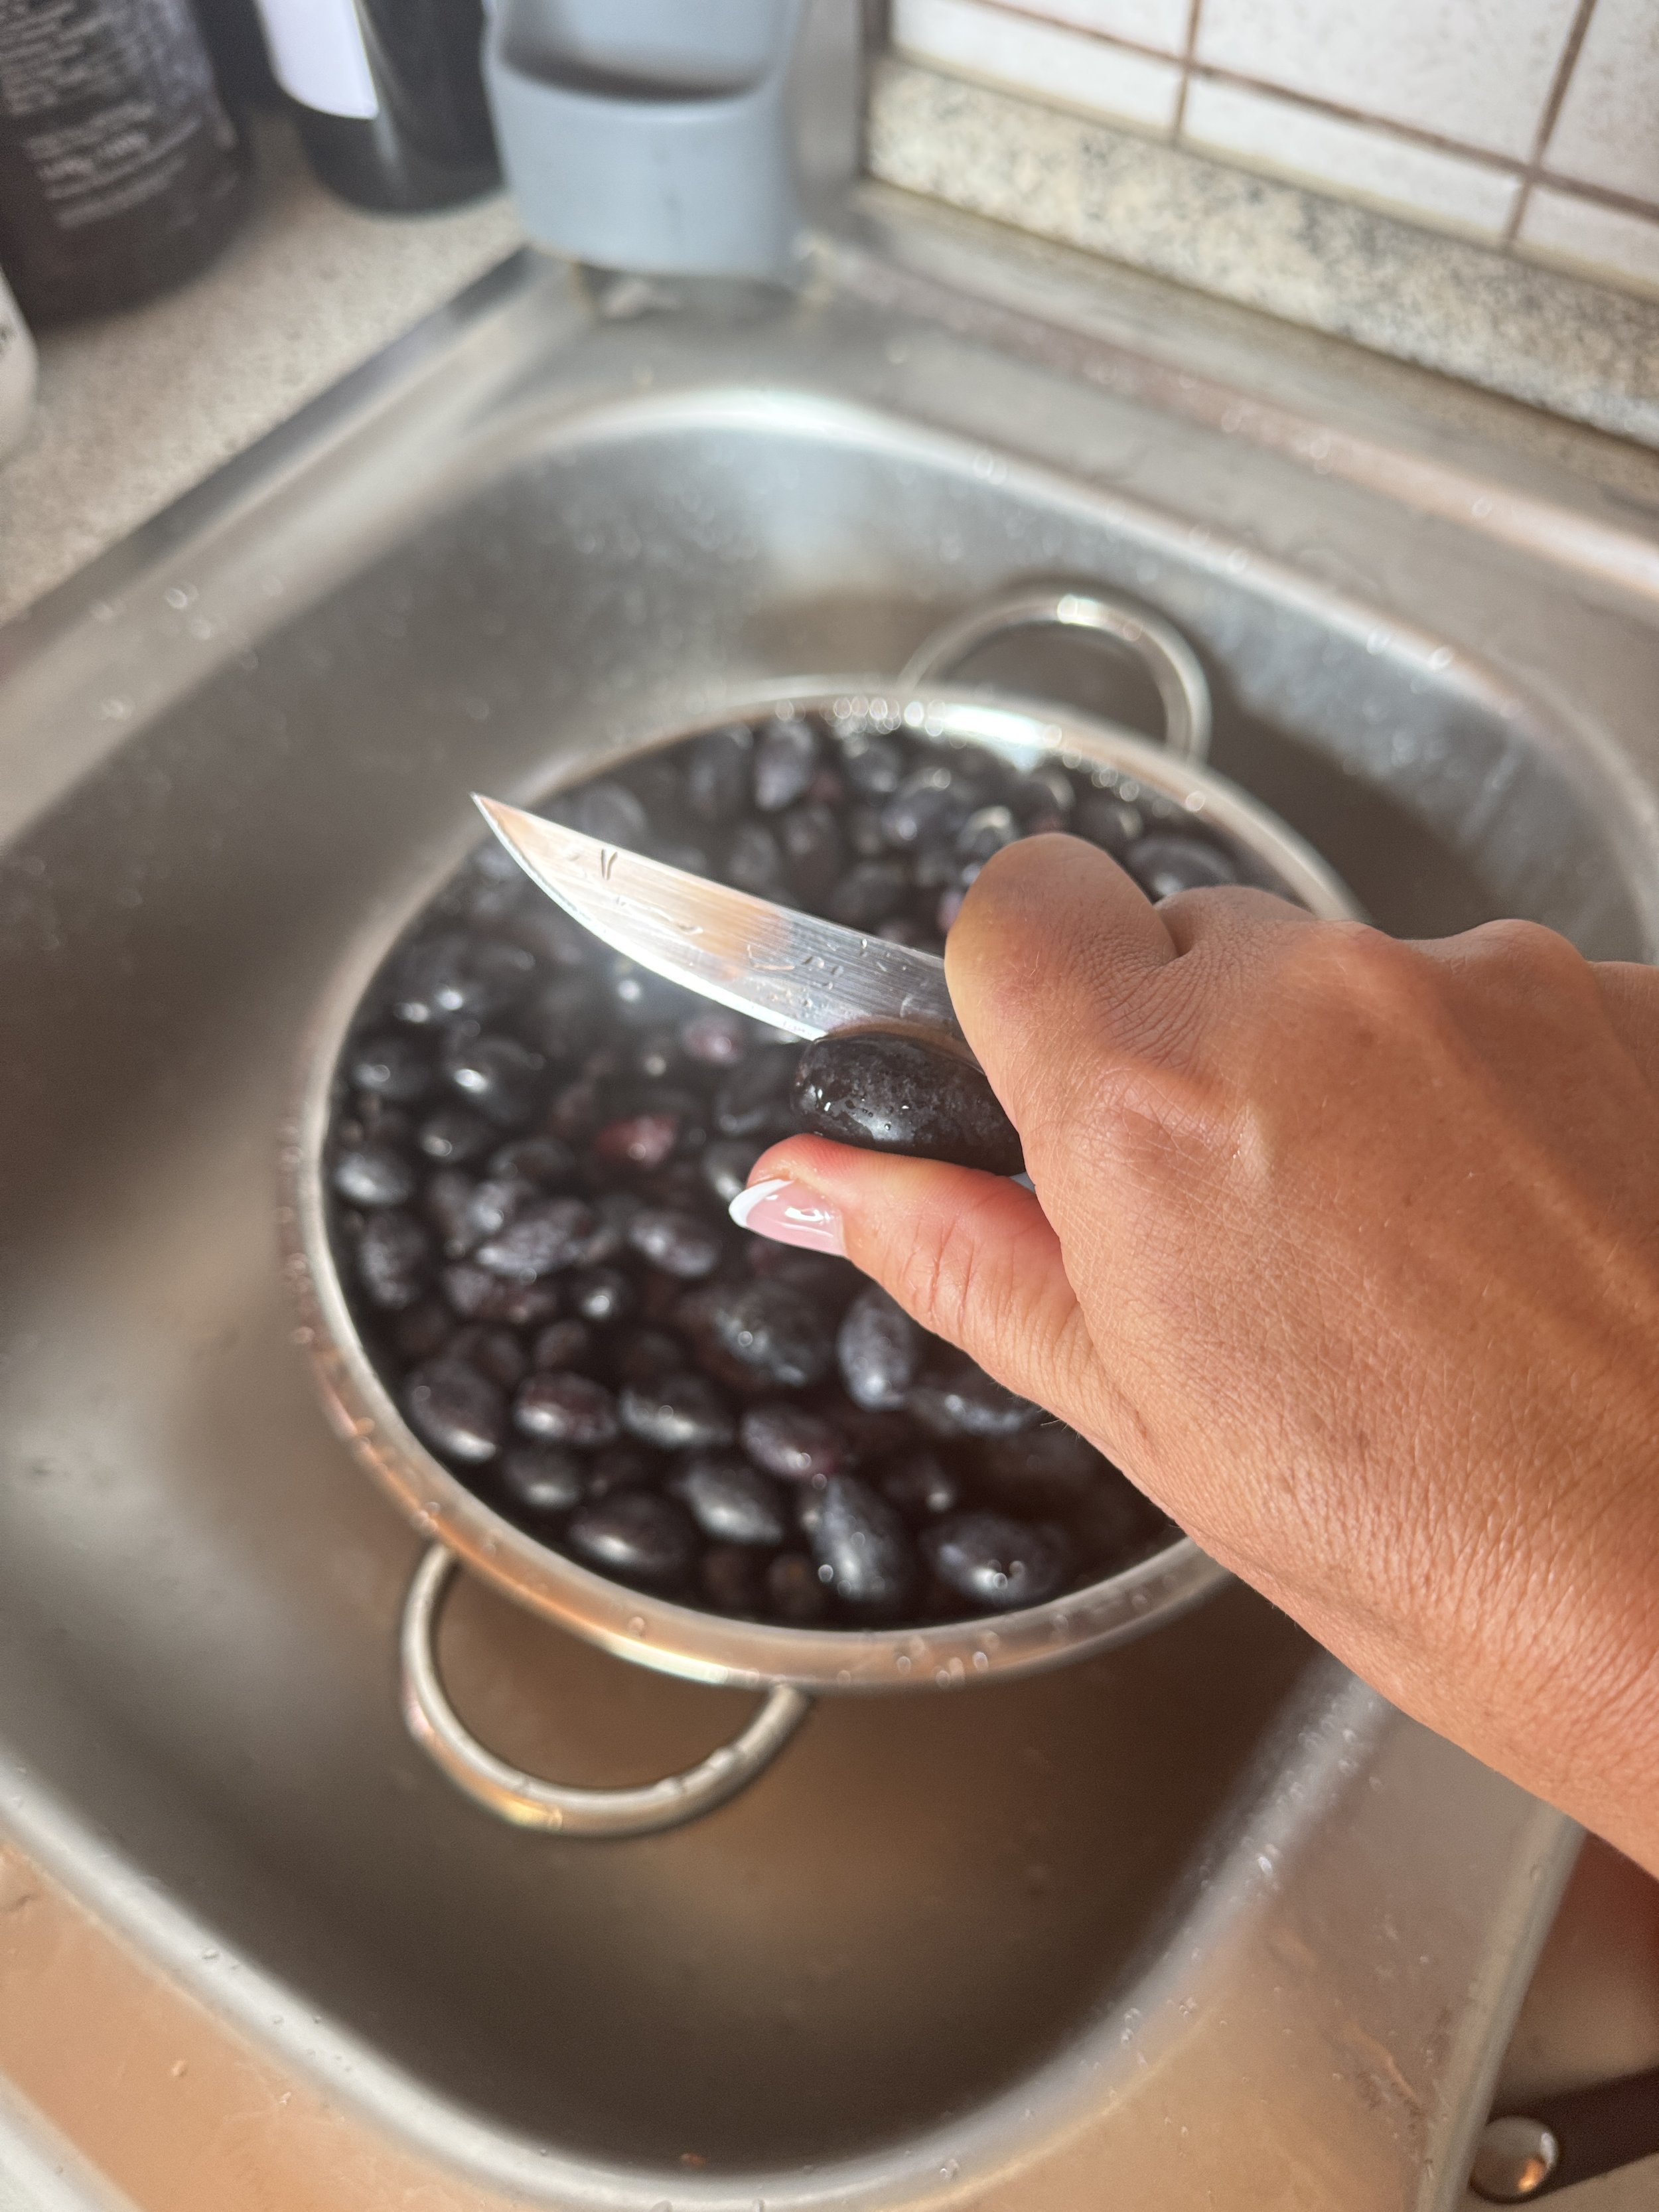
Slit the Olives: Using a sharp knife, make one slit in each olive. This helps release the bitter compounds and allows the water and brine to penetrate. You can also gently smash them with a food safe mallet.
Soak the Olives: Place the slit olives in a large container, then cover them with fresh water. The water helps to remove bitterness from the olives over time.
Rinse and Change Water Daily: For the next 10-14 days, drain and replace the water every day. I did this for 13 days, and you’ll notice the water turning brown as it leaches out the bitterness. Taste one every few days to see if the bitterness has reduced to your liking.
Step 3: Brining the Olives
Once the bitterness has reduced, the olives are ready to be brined. Brining helps preserve them and gives them that delicious, salty, tangy flavor.
My Brine Recipe and Process:
Ingredients for Brine:
Freshly cured olives
1 liter (4 cups) water
1/4 cup salt (use non-iodized sea salt) <— ours was from the Kalloni Salt Flats on Lesvos!
1/4 cup apple cider vinegar
Optional flavorings: local oregano flowers, fresh rosemary sprigs, chili flakes, lemon slices
Steps for Brining:
Pack the Jars: Pack your freshly cured olives into sterilized glass jars. I added beautiful hand-picked oregano flowers, rosemary sprigs, chili flakes, and lemon slices for extra flavor.
Prepare the Brine: In a bowl, dissolve the salt in the water to make the brine. Then add the apple cider vinegar to give it that tangy punch. Make sure the salt is fully dissolved.
Pour the Brine: Pour the saltwater-vinegar brine over the olives, ensuring they are fully submerged. If needed, weigh the olives down with a small sterilized object to keep them below the brine level.
Seal and Store: Close the jars tightly and store them in a cool, dark place for about 4-6 weeks. During this time, the olives will absorb the flavors of the herbs and brine. After that, you can store them in the refrigerator for long-term preservation.
Final Thoughts
Picking, curing, and brining your own olives is a rewarding process that connects you to the food you're eating in a meaningful way. Plus, you get to customize the flavor to your liking with herbs, chili, and other add-ins. I loved being able to infuse my olives with fresh, local oregano flowers and rosemary straight from our hikes and bike rides in Lesvos. Now that I’ve packed my jars I think I have enough time to run out there and pick more!!!!
Check out my two Instagram reels for a closer look at the process, and let me know if you try this at home!


